Saturday 5 October 2013

Mini Me

Firstly I know this is neither Showa nor 1/32 scale, but I had to break with the format at least once.  Now that I have my own car, and being a spare time modeller I had to get a model of my Jazz.


It's Tamiya's 1/24 kit of the Honda Fit, which also recognises the fact that in certain countries (such as here in the UK) it's called a Jazz.

It comes moulded in red, grey, black and clear styrene, with chrome parts and red tinted clear parts.  Parts, as one would expect with Tamiya, are cleanly moulded, without flash and with lots of detail.
I have to confess that I have built very few models in this scale, but from what I can see it looks like a very good kit.


To aid with painting the black surrounds to the windscreen, rear window and side windows Tamiya supply a set of masks to allow the part to be sprayed neatly without much worrying about a neat job.  Masks are supplied for both interior and exterior parts.


You also get a fuzzy flocked sheet of grey material for the carpets... which is a really nice touch.  Nice one Tamiya.


Decals include the usual Honda badges, instruments and showroom plates... but they also give you both FIT and JAZZ decals for the rear door... so no freehand painting for me... hurrah!


The wheels are spot on and the chrome work is flawless... shame my own wheels have kerbing nibbles on them, hahahaha.


I also have a can of Tamiya TS-58 Light Pearl Blue which, while not an exact match, is pretty close for the Ice Blue of my own buggy.

There are a couple of differences between this and my full size Jazz - mine is the mid-range model and has indicator lights built into the mirrors, so I will need to address that wee issue.  The tailgate has a key-hole, as does the front passenger door handle, so I will need to sort those out with some putty and fine sandpaper.

I have already made up a set of number plates to match my car (including the small 'Arnold Clark' text at the bottom), but I still need to make up an Arnold Clark sticker for the back window, a tax disc, and the little Japanese safe driving charm attached to my radio control knob.

I will also incorporate the damage to the passenger side mirror support... making the model as close to my own as possible.

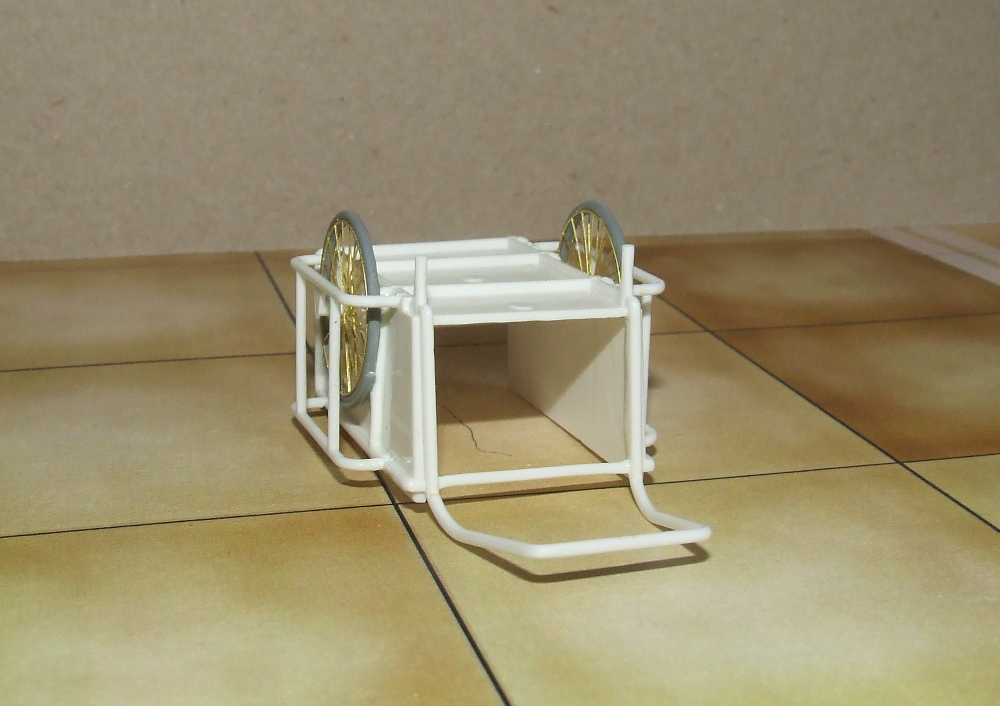
In addition to the Tamiya kit I also found this curious G-Slot body on eBay... in 1/32 scale.  The shell is moulded in dark smoked clear plastic, overpainted with pearly white and black for the window surrounds.


Like the larger model the wheels are lovely replicas of the real thing.


I won't bother with an interior, you can't see anything anyway, but I will make a rudimentary chassis with axles and build this as a purely basic little replica of my car.  The dark windows prevent me from building it as a detailed model, but it will do as a nice little model to sit there and look cute.
Again it will be painted up in TS-58 but this time I WILL have to hand paint the JAZZ name on her rear.

So, apologies for this very self indulgent post, but I felt I had to do it.

Saturday 31 August 2013

Not Showa, but...

I am now the proud owner of a 2004 Honda Jazz (which is the UK version of the Fit).  I am a happy bunny ^_^


She'll get me from A to B during the week, and when I want to she can take me wherever I want to go.  Ah, the freedom of the open road.  A Japanese car for a guy who builds models of Japanese cars... FAB!

Wednesday 21 August 2013

A PASS!

Just a quick update - my final hurdle to being a car owner has been beaten: I passed my driving test on Monday 19th August.  So now rather than dreaming about buying a car... I CAN buy a car!

Happy days.

And back to model making...

Saturday 17 August 2013

Takuji Yamada's Diorama Works mook

I ordered a wonderful mook (magazine-style book) from Hobby Link Japan called "Old Days But Good Days" which is basically a series of larger scale dioramas featuring scratchbuilt figures. A majority of the models are set in the Showa era, 1950s and 1960s, although some are 1940s and some are modern, set after the Showa period... well, one of them is.

Here are some photos:


There's so much inspiration in here... I'll never be able to scratchbuild figures like that, but the dioramas themselves are certainly within my skill set... I love this book.

I would also like to thank my former Japanese teacher Yushin Toda for helping me search for Showa era photos on the net... why didn't I think of using a JAPANESE text rather than English?  Baka!  Thanks Yushin, my reference library just increased many, many times.

Saturday 10 August 2013

Experiments with trees

A while back I tried to make trees from wire with foliage added from laser cut paper leaves from Japan... and they didn't look that hot sadly.  However, over the last little while I've seen trees made from something called Sea Foam... and I wondered what Sea Foam was.
Here's a horticultural description from Suttons, the seed people (Site link):

"A delicate-looking plant whose myriad tiny stems start off a soft green and rose and gradually turn a deep russet red as they mature in autumn. A perfect filler, it's also highly prized by model makers as it can be dried and used to simulate shrubs and trees! Height 30-35cm (12-14"). Sometimes known as tumbleweed, Telaxys produces masses of fine stems interwoven to form a foam-like display!"

So, I ordered a pack of Sea Foam trees by Gaugemaster from Amazon.co.uk (over £20... bit steep, I thought, but had to try them.)  They arrived a few days later (this morning to be exact) and I opened the large box with anticipation.  It was jammed full of fragile-looking dried plants that looked like trees just sitting there.
This is a typical example of one of the stems...


The curved appearance of the tree is unfortunately common to this box... and possibly to most boxes from what I've read lately.  I don't know how to deal with this yet, but I'm going to find out.  As you can see from the image below they have masses of fine 'branches', ideally suited to tree making...


So it was time to experiment.  I sprayed a stem with Treseme hair spray, and sprinkled on some Noche summer leaves...


I then gave the tree another spray to fix the leaves...


For a first go I'm more than happy, but there are some issues I need to address before I can start to add these to dioramas.  They are very brittle: I've read that soaking them in water and glycerine will keep them springy without being brittle, so might try that.  The curve... I don't know yet... that's a tricky one.
As they are they work better in small scales as medium to large size trees...


... but for 1/35 and 1/32 I may need to use a thicker section of branch from a dead plant to act as a trunk and add the Sea Foam to that as branches, much as Toho did when they made trees for the Kaiju films of the 1960s.
It's a learning curve.

Wednesday 7 August 2013

How much is that doggy in the window?

1/35 and 1/32 scale dogs are a bit hit and miss.  Arii's old dog is okay, but rather bland.  Tamiya and Riich produce some lovely sheepdogs (German and Collie)... and there are a few other in both plastic and resin, but in most cases the dogs are either just standing, lying or sitting... nothing exciting.  However I found a lovely little dog made by a firm called Doug's Original.  It's part of a double set with a goat.  The beauty of this model is that the dog is actually barking, and in a suitable posture...


He's quite small, so either a spaniel or a little beagle, but certainly a lovely little one-piece resin figure.

Monday 5 August 2013

More flowers

Just a quick update...

The second set of HO scale flowers arrived from Germany today, so I tried a couple out in 1/32, and they work beautifully.  I can't say what they represent, but they add colour and variety to a rather drab scene... just like real life ^_^


Like the daisies last time they have green moulded stems and separate flowers moulded in (in this case) shades of purple and lilac.  I like them.

Sunday 4 August 2013

Flower Power

While trawling eBay mindlessly a couple of weeks ago I came across this:


What this is is a pack of plastic flowers in HO scale, or 1/87, produced by the German model railway scenery masters Busche. In fact Busche, Noch, Faller, Vollmer and Heki all produce some fantastic scenery products in both soft materials and as normal injection-moulded kits.
They are meant to be daisies, but compared to the woman on the box they appear rather large, so that got me thinking... how would they look in 1/32 or 1/35 scales?  So I bought a set...

What you get are 120 green plastic stems, all identical, and 60 yellow/60 white flowers with holes in the centre, fitting onto the top of the stem and so creating a flower which stands around 4mm tall, or around 140mm in 1/32.

I decided to try some out and used them on my Showa back street model... I like the effect...


I need to paint the centres yellow but I am more than happy with these.  I may buy more of these German products to add some life to my models.  I have a set of Lupins on the way too... although at less than half their intended size they might have to be something else...


Saturday 27 July 2013

General Update

Been tinkering with a few models and here's a little update on them.

First up, the Diopark bicycle is now ready for paint...


All it needed was the parcel tray and supports added.  Really nice model.  Next one I'll add a basket to the front and a box on the back, while removing the cross bar and making it a tad more modern.

I have also built Diopark Honda Cub #2. This time I aligned the rear spokes properly and used the double seat rather than the single saddle.  Nice little (if very fiddly) kit...


I'll make the single seater a Ramen delivery bike, complete with weird hanging thing attached to the rear parcel tray area.

Finally, progress continues with the attempt to convert the old Arii hand cart into one of these:


(images from various websites, found after an image trawl)

So far I've removed the closed end of the cart where the stove is.  From what I can tell, these carts seem to be different from the next, with only the design of the stove being similar, which is a help.  So next I need to scratchbuild the stove, metal box, chimney and then work on the details...


Sunday 21 July 2013

Arii Showa era cart upgraded.

The DioPark bicycles got me thinking and I dug out the old Arii 'rear car' from my Showa box and decided that, with some simple changes it could be a decent little diorama extra.

These carts were everywhere in the Showa era (both before and after the war) so any period diorama would benefit from having one somewhere in the background.  I have seen guys in Akihabara pulling these things laden with cardboard for recycling, and my good friend Phil even photographed an abandoned one earlier this year on his trip to Japan.

The kit comes from this set:


I have sadly lost the Sweet Potato seller's additional features, but the core cart is still there.  These were mostly just frames with wheels, but the Arii version has a wooden floor and I'm assuming wooden sides, although they could even be canvas I suppose.  The frame around the wheels is a little thick but doesn't look too bad... however the wheels have to go: they are thick and solid, with the spokes represented as raised lines radiating from a central hub.
I had some spare Tamiya German bicycles and Aber detail sets for them, so decided to sacrifice parts for this... all for the better good ^_^

I removed the front wheels from both bikes and cut away the moulded spokes and front forks, but kept the mudguard in place... it looks nice.  I then added the Aber etched spokes and fixed the new wheels to the cart.  The wheel frames needed the hub pin cut down, but other than that it was a very simple job.


With a figure so show the size of the model...


Now to think what to do with it... finding photos of these on the internet is a nightmare, as are any Showa era photos of everyday life.  All I can do really is watch a few Japanese films from the 1960s and try to figure out what it should be used for.  The sweet potato original might be an option, and a challenge as I would need to scratchbuild pretty much everything, including the cooking equipment.
I'll post the finished model once I've decided what to use it for...