First up, I have been working on a 1/35 military diorama and I decided to add a civilian car to the scene, which is set in Bosnia in the 1990s. With most of my 1/32 cars being Japanese it didn't leave me many options for what to use. I could use the Bilek UAZ van... but no way am I killing something that expensive. My Airfix cars are all either British or right hand drive (as well as a couple being extremely rare) so they were out... so that left the Arii VW Beetle, 1950 version.
As these are very cheap and easy to buy I decided to sacrifice one.
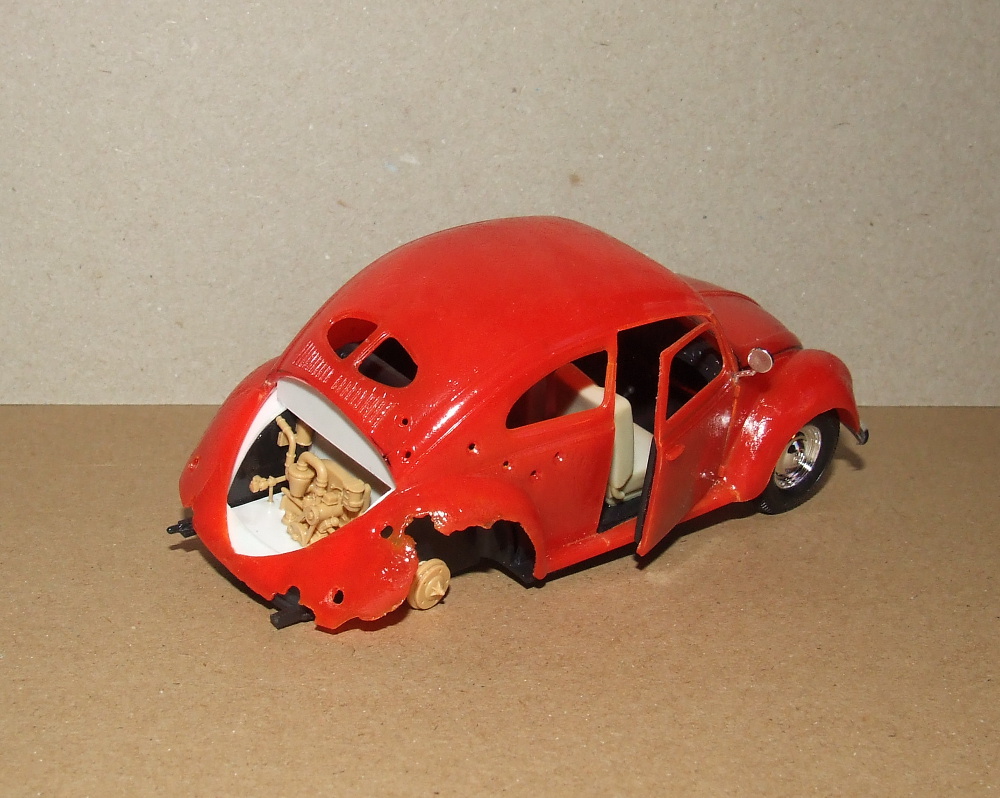
Using a motor tool I ground out some damage on the rear wings, bounced a ball-cutter all over the body, removed the engine cover (added a Tamiya VW Kubelwagen engine) and carried out other modifications... one of which was opening the passenger door.
Here is the car before the detailing being complete.
I then sprayed the vehicle in Tamiya Red Brown to use as the base for the rust which I would expose using what's known as the 'hairspray technique'.
I then applied (with a sponge) various rusty shades, paying particular attention to the rear of the car.
I then sprayed the body shell with a few coats of Treseme hair spray. This is a water-based spray and acts as a barrier between the undercoat of rust and the blue colour to be sprayed over the top.
Once the spray was dry I gave it an hour and then sprayed the main colour over this... Tamiya Light Blue. I then left this for an hour to dry - the joys of acrylics.
When I felt the time was right I got some old brushes and a jar of water and sloshed the water over the various panels of the shell, allowing it to seep through the blue. Gently at first I began scrubbing at the driver's door... and was rewarded after a minute or so to see the paint come away and expose the rust underneath. I was so happy that something I was trying for the first time actually worked!
I carried on and tried to create a believable amount of paint loss for a car which had been lying exposed to the elements for several years in a ditch.
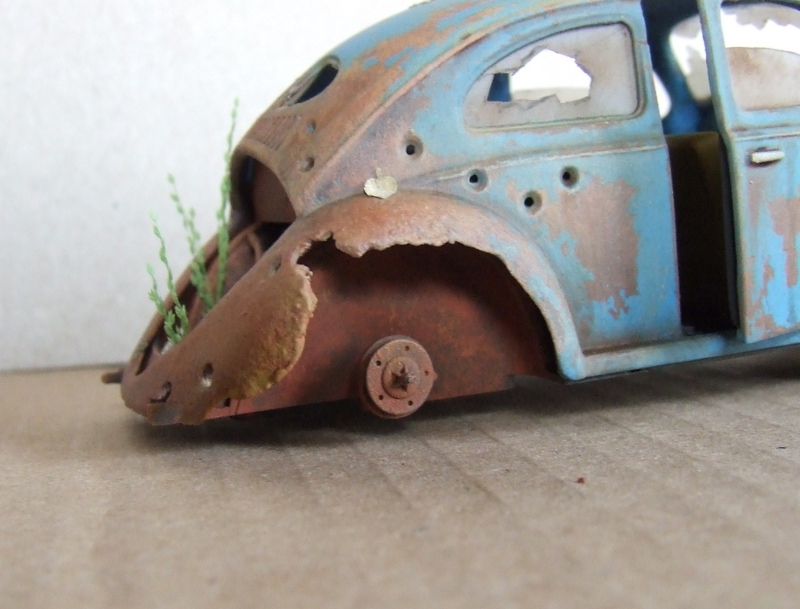
This is how the car looked once the rust had been exposed...
After several coats of a Humbrol acrylic matt varnish I allowed the car to rest for a day. The varnish protects the blue from any further weathering and also protects the rust colour from any damage.
I then used a mixture of washes with thinned Raw Umber oils, drybrushing with Humbrol Light Sand, and liberal use of MiG weathering powders to further distress the car.
I also painted some of the silver parts as photos of dying Beetles show that parts such as the bumper, chrome stripes and light bezels seem to survive quite well. Using acetate I added windows, some of them broken and finally added the headlight. Since the car is lying in undergrowth I also added some grass and longer plants coming out of the engine bay. Once everything was in place and all weathering complete I gave the model a few more coats of matt varnish to protect it from handling.
I won't cover the rest of the diorama as it doesn't fit in with the remit of the blog.
Finally, I recently discovered a 1/32 female driver figure. She was intended for a Scalextric-type slot car layout, but she fits perfectly many of the Arii, Aoshima and Airfix cars in this scale. She is made by a company called Le Mans and is cast in resin, making her very light. She also comes ready painted... and while it's not bad for a factory finish I think I need to tidy it up in places.
Strangely, while she has fair hair her face has an Asian appearance, so I may repaint the hair black to allow her to work with a particular Arii car... or even the Airfix Mini?
As you can see she's posed as if changing gear in a left hand drive car... which may be a problem. I'll have to see if I can remove the right arm, and if I can I will repose it so that he hand is resting on top of the wheel rather than changing gear.
Mata atode ^_^